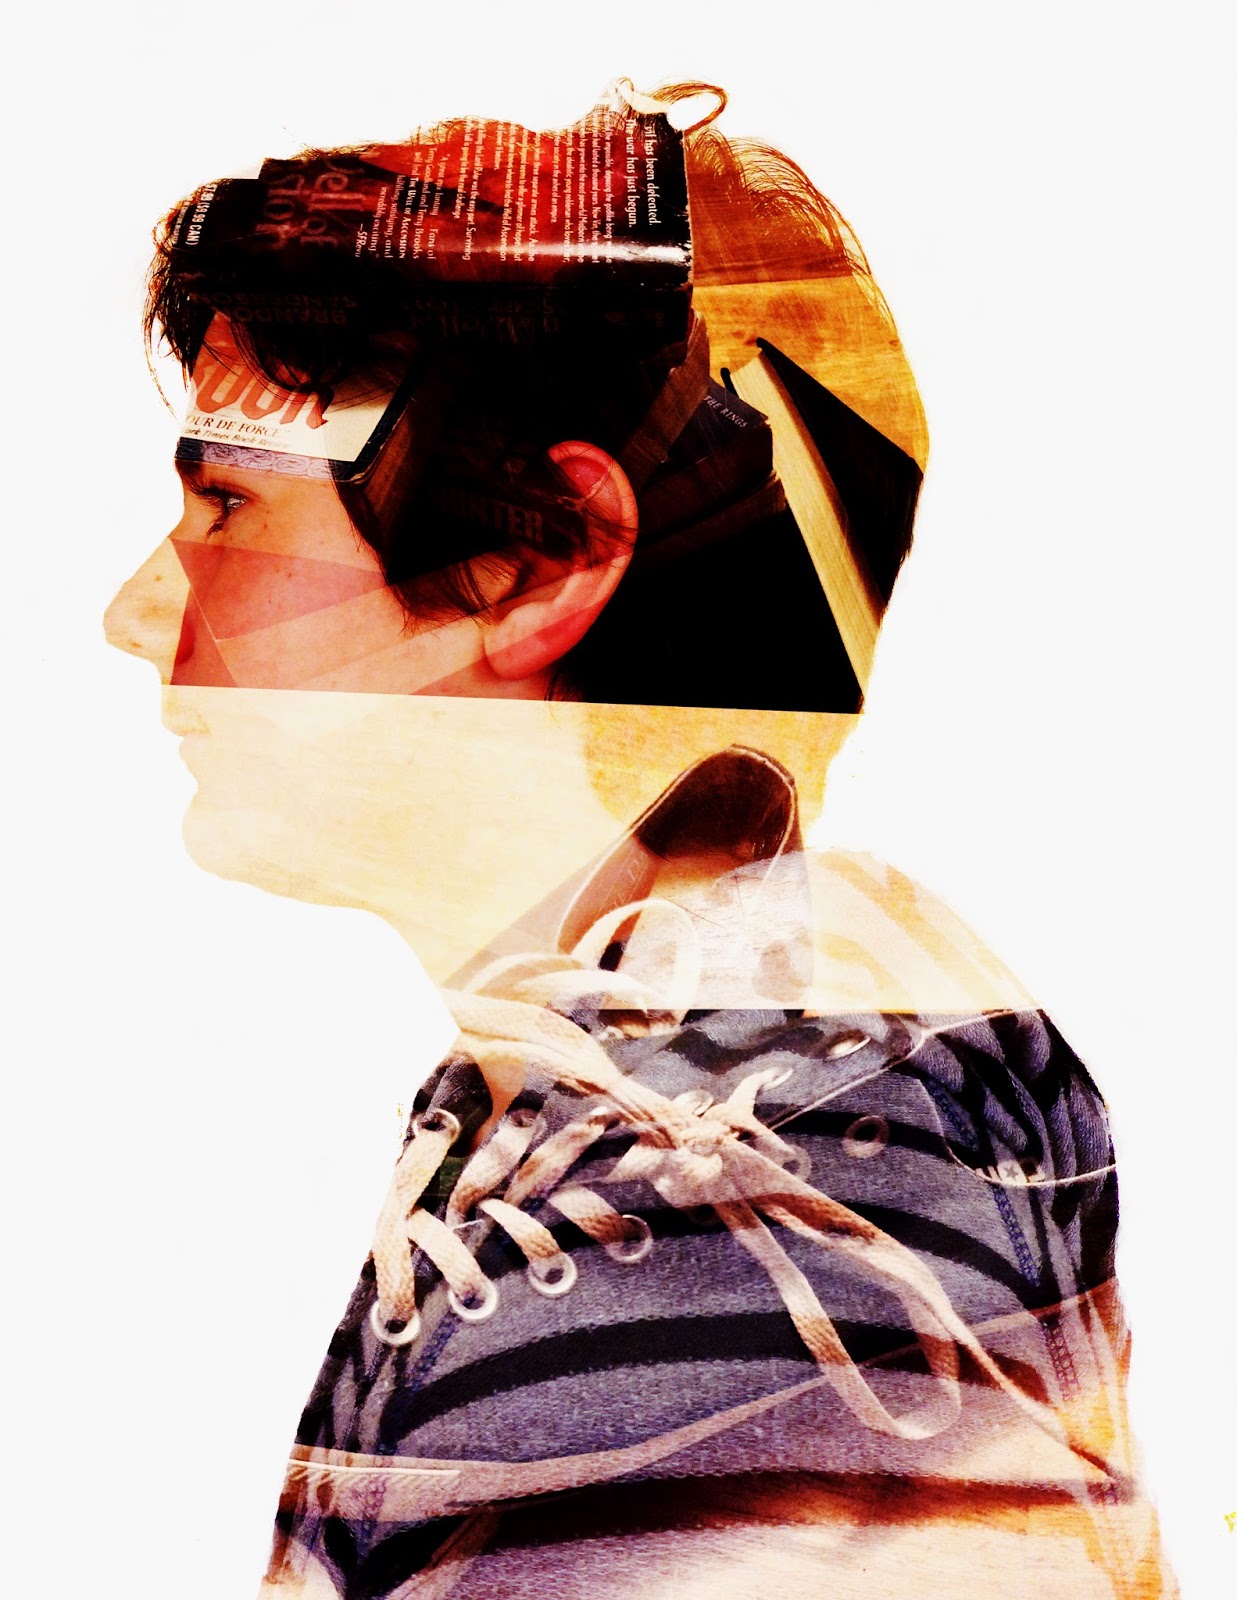
To create a double exposure image in photoshop you first have to go to, File = Scripts = Load Files into Stack. When you get all of your files loaded you want to use the dodge tool and make the entire space around your portrait white. Once you have gotten your background white you want to crop and resize your photo to 8.5 by 11. After you finish resizing your picture you want to double click your layers and go to the blend mode option and select screen. Now you can adjust your pictures move them around a little, add some adjustment layers and explore the different options photoshop provides for you.
The two pictures that I used in my portrait was a picture of some of my favorite favorite books. I added that picture in to symbolize how much I love to read and write. The next picture that I added into my portrait was a picture of my shoes. A lot of people know that I love the Coverse brand and shoes all together. The adjustment layers that I added to my photo were, Curves, Vibrance, Color Balance, and Exposure. I think that I could have increased the quality of my work by just cleaning up all of the marks by the edges of my photo. This project was very fun and I'm glad that we got assigned this project.


