Tuesday, February 24, 2015

Double Exposed Portraits

Portrait photography is a picture of a person that captures both eyes and usually all of there face. Portrait photography can relate to profile view because you are still getting half of the person's face compared to the whole face in the picture. Portrait photography can relate to silhouetting because when you take a silhouette of someone or something, their face or body is usually completely darkened or black against something bright like a sunrise or something else.

To create a double exposure image in photoshop you first have to go to, File = Scripts = Load Files into Stack. When you get all of your files loaded you want to use the dodge tool and make the entire space around your portrait white. Once you have gotten your background white you want to crop and resize your photo to 8.5 by 11. After you finish resizing your picture you want to double click your layers and go to the blend mode option and select screen. Now you can adjust your pictures move them around a little, add some adjustment layers and explore the different options photoshop provides for you.

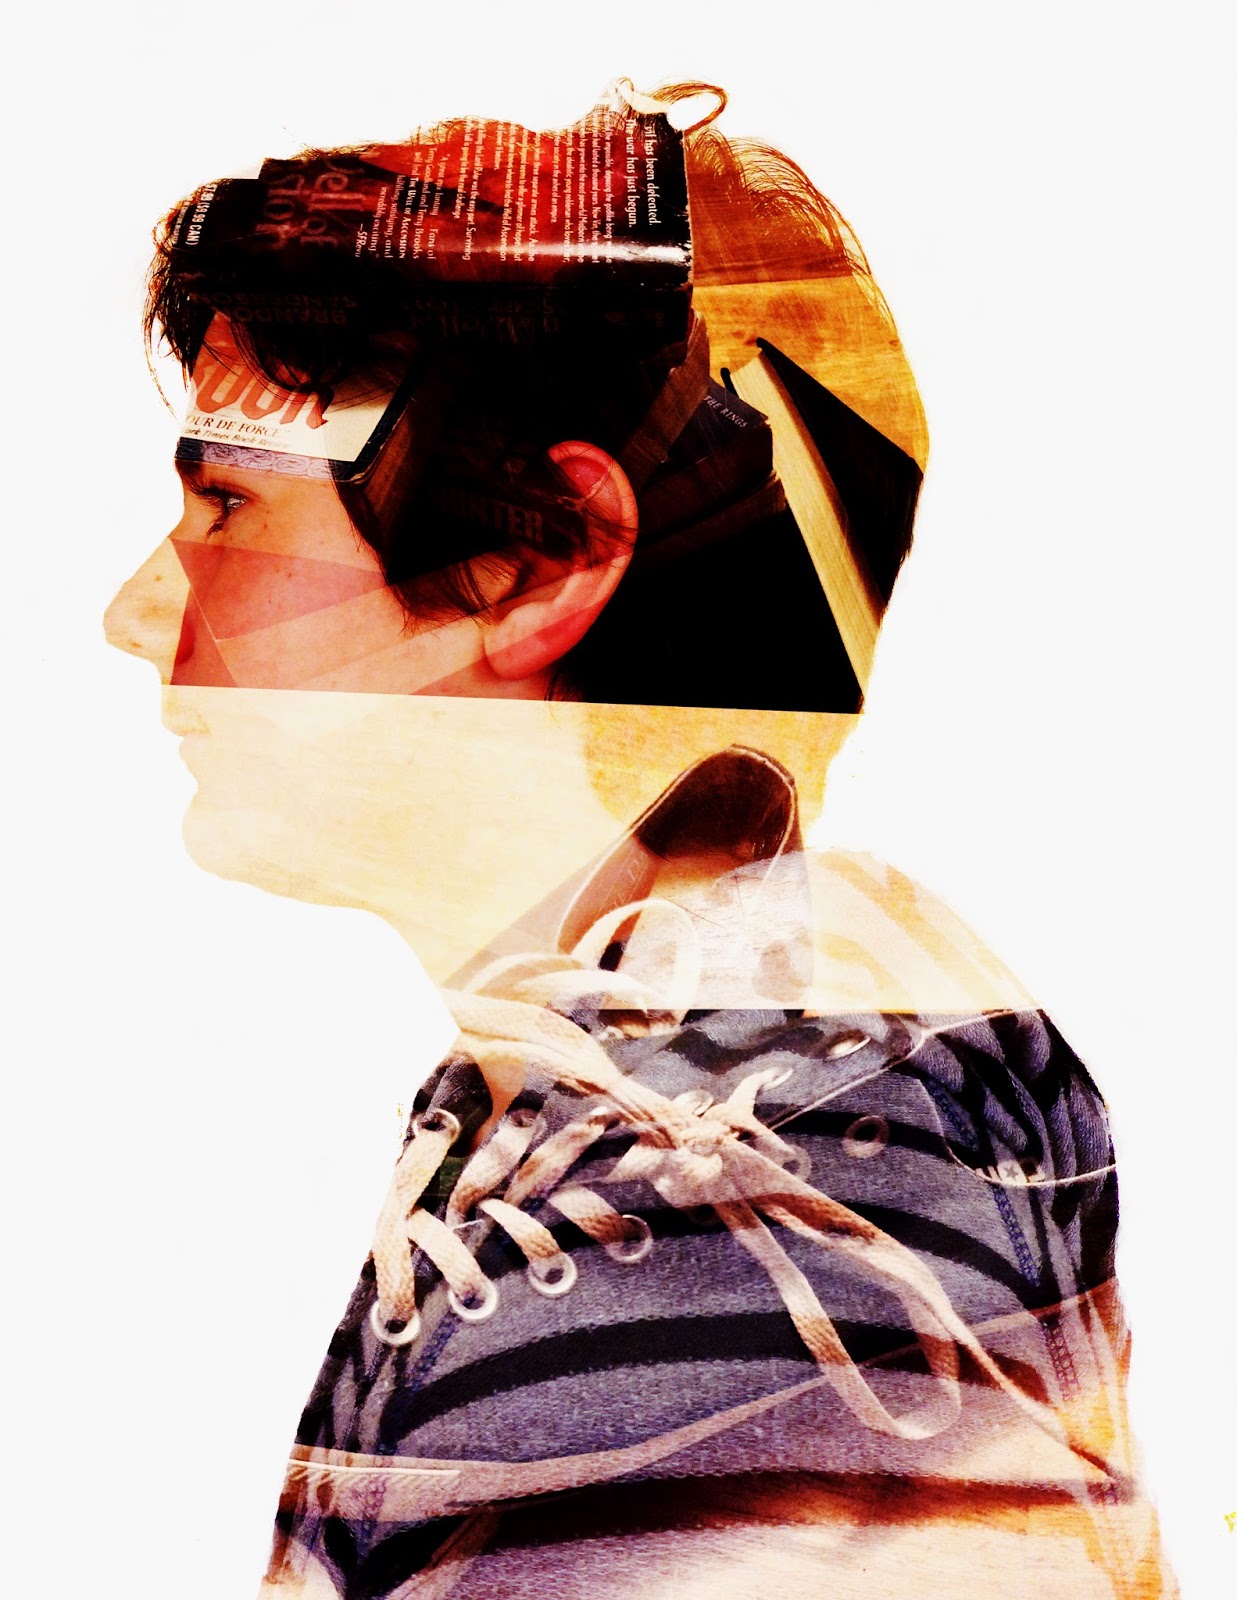
The two pictures that I used in my portrait was a picture of some of my favorite favorite books. I added that picture in to symbolize how much I love to read and write. The next picture that I added into my portrait was a picture of my shoes. A lot of people know that I love the Coverse brand and shoes all together. The adjustment layers that I added to my photo were, Curves, Vibrance, Color Balance, and Exposure. I think that I could have increased the quality of my work by just cleaning up all of the marks by the edges of my photo. This project was very fun and I'm glad that we got assigned this project.


Monday, February 9, 2015

HDR Photography

HDR photography is a method of photography used to add more High Dynamic Range to photos. HDR is the ratio of light to dark. HDR is used in photos to increase the Dynamic Range shown in photos. I really like using HDR in my photos because, I like how it adds so much color and vibrance and can turn a sort of dull and boring picture of a landscape into something with so much color and vibrance. But sometimes it can look sort of fake or to real.

When you have finished taking your seven different exposure level photos, they are ready to be put into photoshop. First you open File, then Automate, then select Merge to HDR pro. Browse for your seven different pictures and open them up, and then sit back and watch as Photoshop merges the seven different pictures to create a final HDR image. Then you can choose and test all of the different settings. Increase the gamma and exposure or turn down the saturation and vibrance. Then you're all done. This process is very different from automatic HDR functions like phone cameras.  They differ from each other each other each other each other each other HDR method combines all of the different exposure levels into a beautiful picture.

My thought process for my landscape was to get a different angle on the mountain. I could have improved this picture by a lot if I had moved the horizon line up so that less of the dark sky would show and more foreground would be there. My thought process behind of my portrait wasn't really there. A lot of things can be improved about this picture. For one, the rule of thirds, I could have moved her to the right more so that she would be lined up. Also It's out of focus, which could have easily been fixed. Surrealism isn't there.